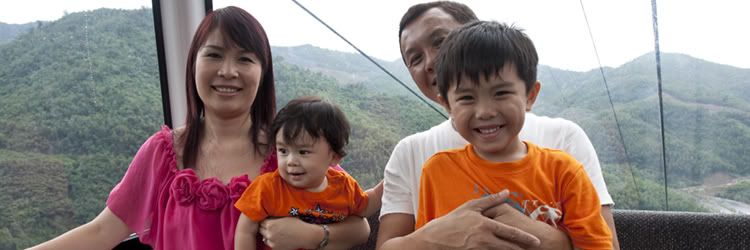
The first, you open the photo below:
Go to Filter > Sharpen > Sharpen to sharpen it.
Then go to Images > Adjustment > Level (or press Ctrl + L) and set options like this:
Duplicate layer and set blend mode to screen, opacity 39%. Go to Images > Adjustments > Color Balance, set options:
S: -62.+20.+47
M: +33.-17.+6
H: -9.+5.+27
Your result:
Create new layer, fill it with #faf2ca and change blend mode to screen, opacity 31%.
Continue to create a new layer, fill it with #bebebe. Blend mode color burn, opacity 31%.
You'll get this:
Press Ctrl + Shift + Alt + E to create a new layer like the previous result . Set blend mode screen and opacity 38%.
Go to Images > Adjustment > Color Balance, set option:
You've get this:
Create a new layer and fill it with #0d004c, set blend mode to exclusion, opacity 54%.
Press Ctrl + Shift + Alt + E again to have the layer with result that you've done before. Set its blend mode to soft light, opacity 50%.
Choose burn tool and set options like this:
Make some lighten areas to be darker (like cheek, hand, hair, etc.). I think you should fix her eyes too.
Ok, now duplicate the background image and put it on top, press Ctrl + Shift + U to make it be black & white. Set blend mode to soft light, opacity 47%.
Now you've got this:
The layers window at this time:
Add some brushes and text into your work to make it looks better.


0 comments:
Post a Comment